This article is divided into two parts, this is the first
part of this article, in this article, we will check out what is DeepAR and the different use
cases of DeepAR, and the Installation of DeepAR for Android applications in a flutter.
So,
let’s get started!!
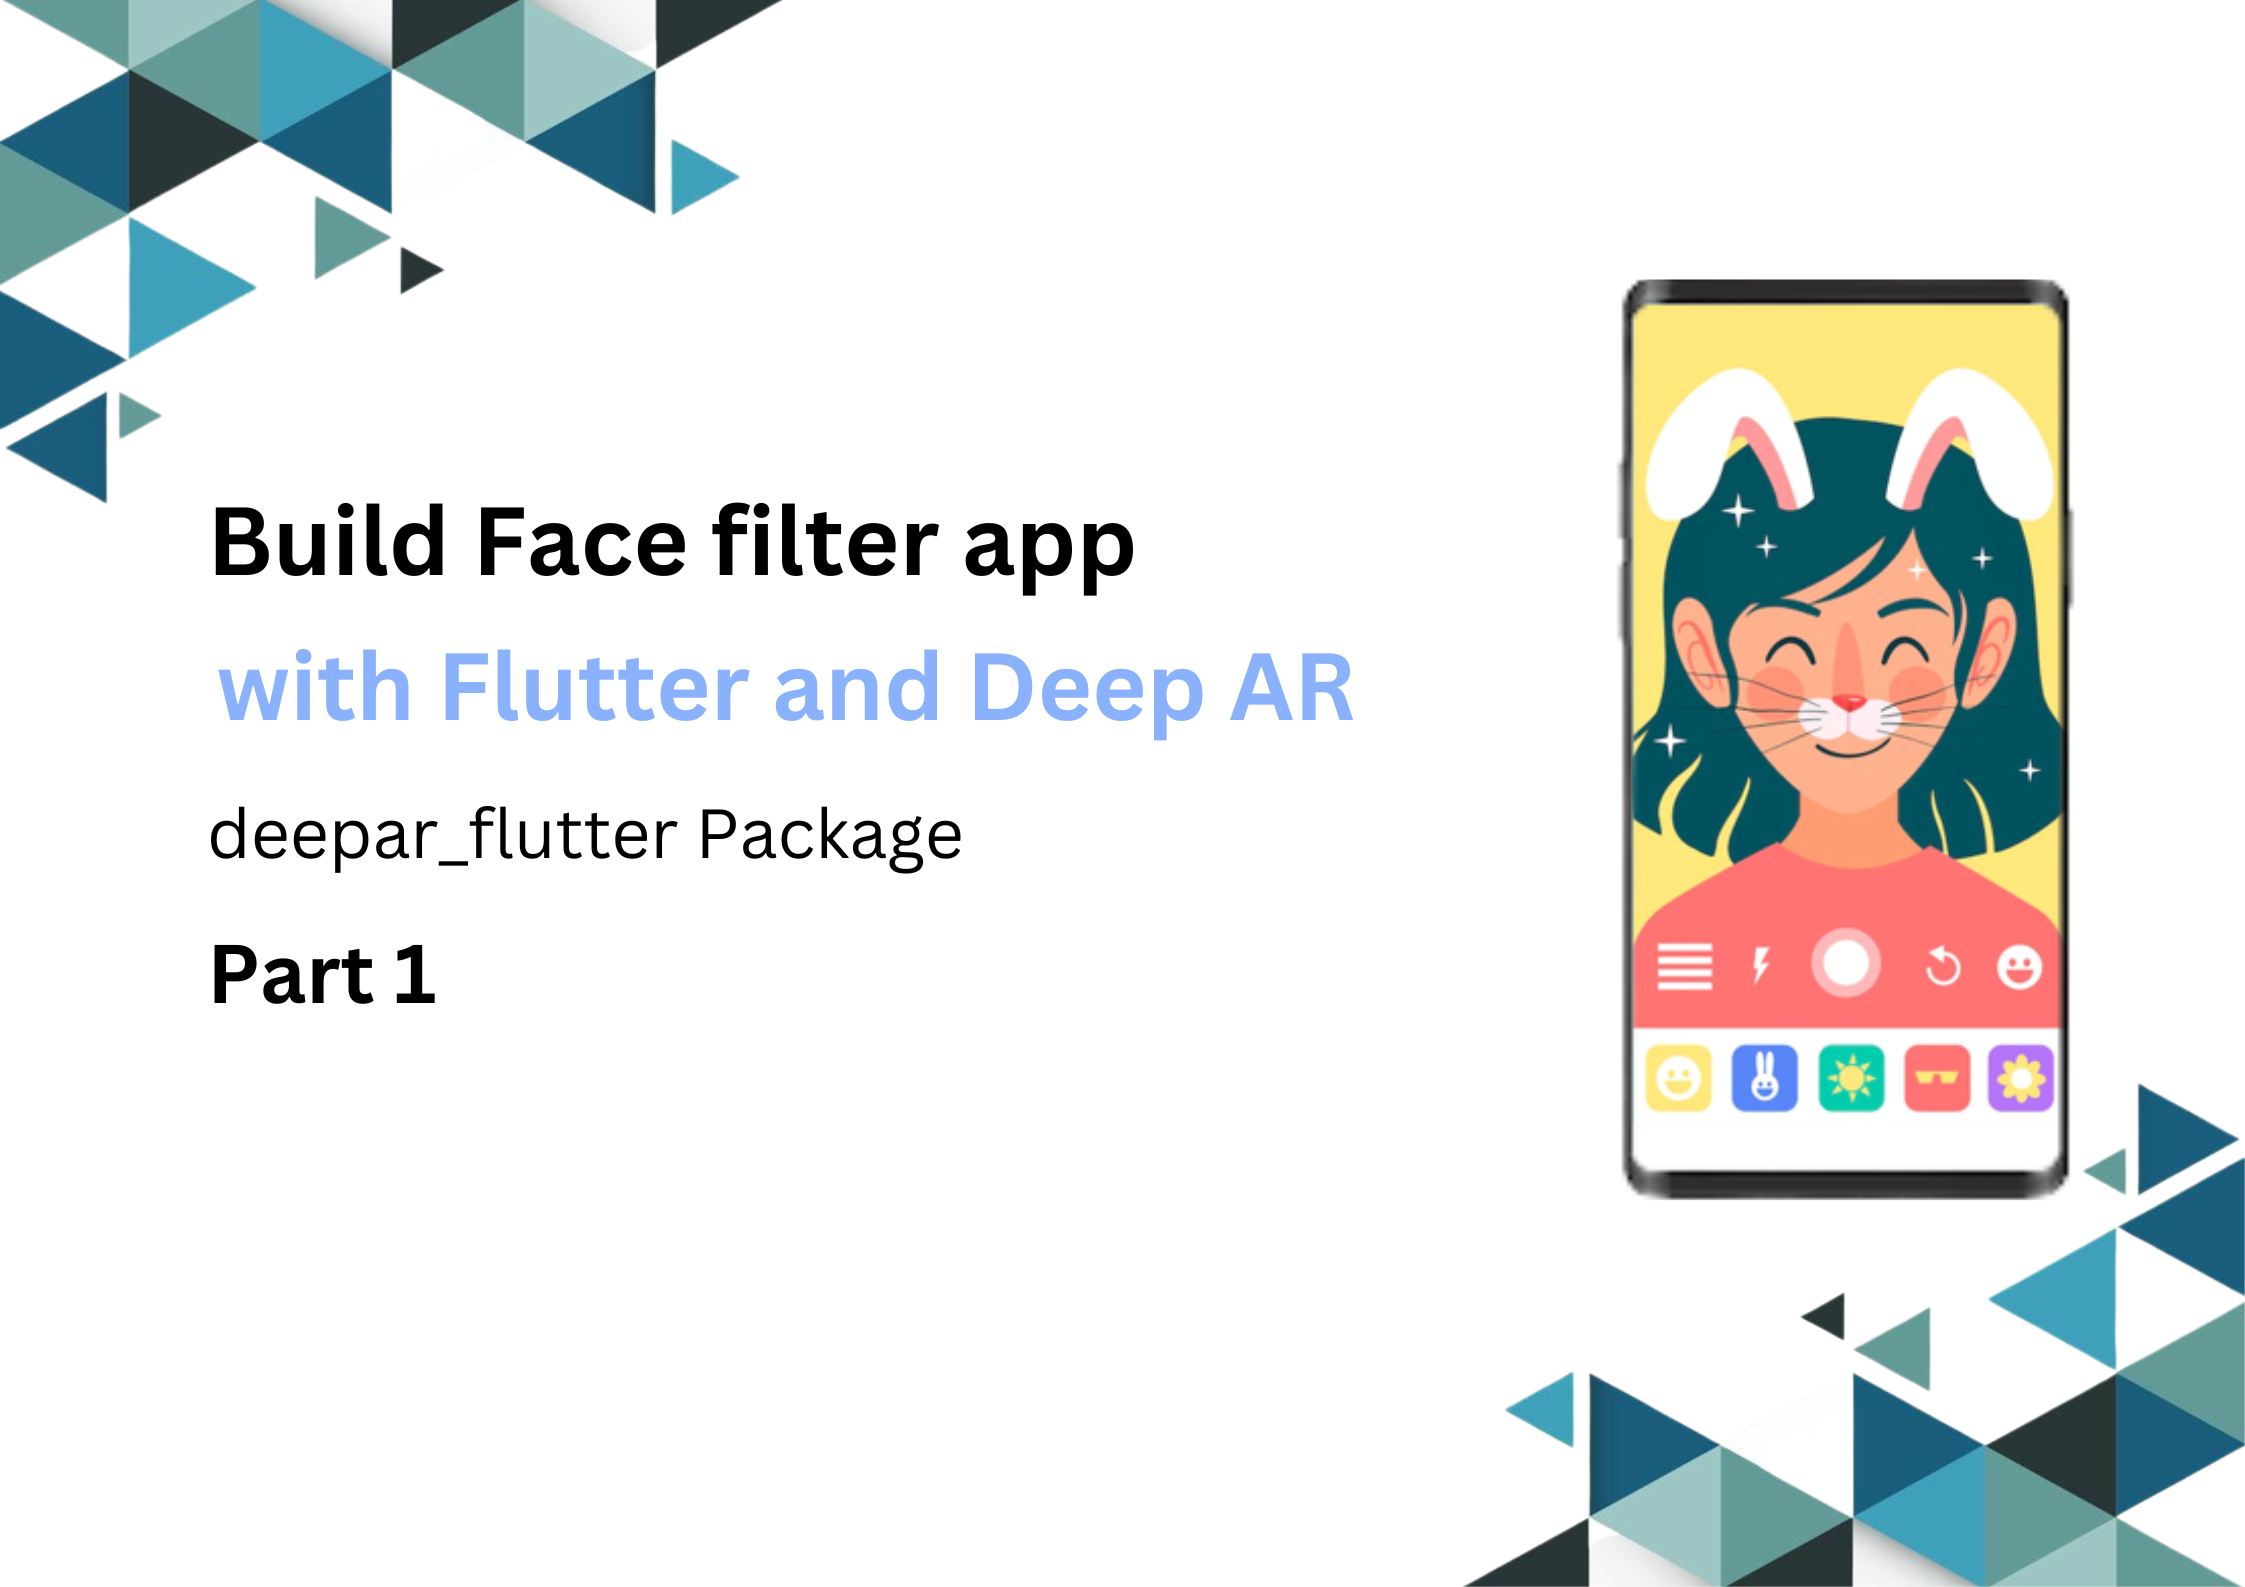
What is DeepAR?
DeepAR gives you amusing AR filters and 3D masks that combine
seamlessly into your mobile application and permit your customers to add different AR effects to
their video calls, capture video and pictures with flashy sunglasses and, lots more.
You also create your custom filter or mask using DeepAR studio and use it in your mobile
application
Use cases
-
Beauty
DeepAR Virtual Makeup & Beauty is an AR solution that uses DeepAR SDK to apply virtual
makeup to a user's face in real-time. Using a front-facing camera to capture the user's
face, DeepAR can apply makeup to a person's face or change the shape of their facial
features in real-time. DeepAR Virtual Makeup & Beauty also allows developers to
customise the makeup style and intensity on the fly via the SDK API.
-
Virtual try-on
Take e-commerce to a new level with DeepAR Virtual Try-On! Your customers can try on
ultra-realistic virtual makeup, hair colour, shoes, watches, wrist jewellery, and
glasses in real-time.
Step 1: Import the latest version of the “deepar_flutter” package to
pubspec.yaml file

Step 2: Create a DeepAR account
Go to https://developer.deepar.ai/ in order to create
an account, and create a DeepAR account

In order to create a new DeepAR project click on the “CREATE A PROJECT” button. Then we
are going to name our DeepAR project “Flutter_Deep”, accept the terms and conditions and click
on the “Continue” button to complete the project creation process
 Congratulations, you have efficaciously created your very first Deep AR project.

Step 3: Add DeepAR to your app
In order to add deepAR project to your android app click on the “Add App” button, on the App Id field enter your application id.
Note: To get application ID for your project go to android -> app -> build.gradle and copy the applicationId.

Step 4: Android setup for DeepAR
Once get the SDK key of the DeepAR project then go to https://developer.deepar.ai/downloads and download the native android dependencies and save it at two locations:
-
In your flutter project as android/app/libs/deepar.aar.
-
In the root of your flutter environment directory, navigate to deepar_flutter pub-cache folder and create a new libs folder and place the deepar.aar file as following:
-
~/.pub-cache/hosted/pub.dartlang.org/deepar_flutter-/android/libs/deepar.aar (Linux/ Mac)
-
%LOCALAPPDATA%\Pub\Cache\hosted\pub.dartlang.org\deepar_flutter-\android\libs\deepar.aar(Windows)
-
compileSdkVersion should be 33 or more.
-
minSdkVersion should be 23 or more.
 Step 5: Add User permission
Add following permission requests in your
AndroidManifest.xml
 Step 6: Add Proguard-rules
To add proguard rules in your project files go to android -> app -> create a new file and the name of the file must be “
proguard-rules.pro” and add the following code in it

Ensure to add these rules to “
proguard-rules.pro” else the app might crash in release mode.
We just completed the installation of DeepAR Android SDK in a flutter
In the next article, we will take one step towards building face filter applications like Snapchat, Instagram, and other social media in futter and DeepAR.